Technomancy and restoring an old Dell Optiplex
Backstory
I have recently found an old computer of mine, a Dell Optiplex GX60.
The harddrive inside it was lost to time, so I decided to restore the system to its original factory state.
The problem
Now, of course, I did not have the original harddrive, so I had to find a way to restore the system. Easy enough, right? Just download a recovery image and sit back, like we are used to nowadays.
After restoring the Windows installation, which was easy enough as Dell, surprisingly, still provides driver and utility packages for a two decades old computer, I was left with the problem of the recovery partition.
Dell had never intended for you to wipe the drive, meaning that while you could restore the operating system, you would not be able to restore the special little recovery partition that was originally there.
This meant that I had to find a way to recreate that partition myself.
What I found
While Dell does not provide the tools required to create a recovery partition, they do provide upgrade packages that contain part of the original files on it. The process to restore the system is pretty simple, once you know what you are doing, but figuring that out took some time.
Additionally, I also used Goodell’s guide as a reference on how to recreate the partition.
The solution
There are a few requirements:
- The Dell upgrade package
- A bootable USB stick with FreeDOS
- The missing files from the upgrade package
The first step is to create a FAT16 partition (between 30 and 64 MB) at the start of the harddrive. I used GParted from Hiren’s BootCD since I already had a Windows installation I wished to preserve. This ended up taking a lot of time.
The second step was to add the
AUTOEXEC.BAT,CONFIG.SYSandREBOOT.COMfiles to the newly created partition.1 2 3 4 5 6 7 8 9 10 11 12 13 14 15 16 17 18 19 20 21 22
@rem AUTOEXEC.BAT for Utility Partitons @echo off if exist delldiag.exe goto start @echo. @echo Diagnostics not found on the utility partition @echo. @pause reboot :start if not exist int15_88.com goto dodiags int15_88.com :dodiags delldiag.exe if ERRORLEVEL == 20 goto altgui reboot goto end :altgui if not exist delltbui.exe goto end delltbui.exe reboot :end reboot
1
2
3
4
5
6
 SWITCHES= /N /F
 BREAK=OFF
 FILES=30
 BUFFERS=20
 STACKS=9,256
 LASTDRIVE=Z
A
REBOOT.COMfile can be obtained online easily, from sources such as GitHub.The third step was to boot from the aforementioned FreeDOS USB stick. After that, you can run the
sys D:command to make the recovery parition bootable. (Obviously, change the drive letter to point to the recovery partition)Use a partition table editor (such as PowerQuest Partition Editor) in order to change the type of the utility partition from
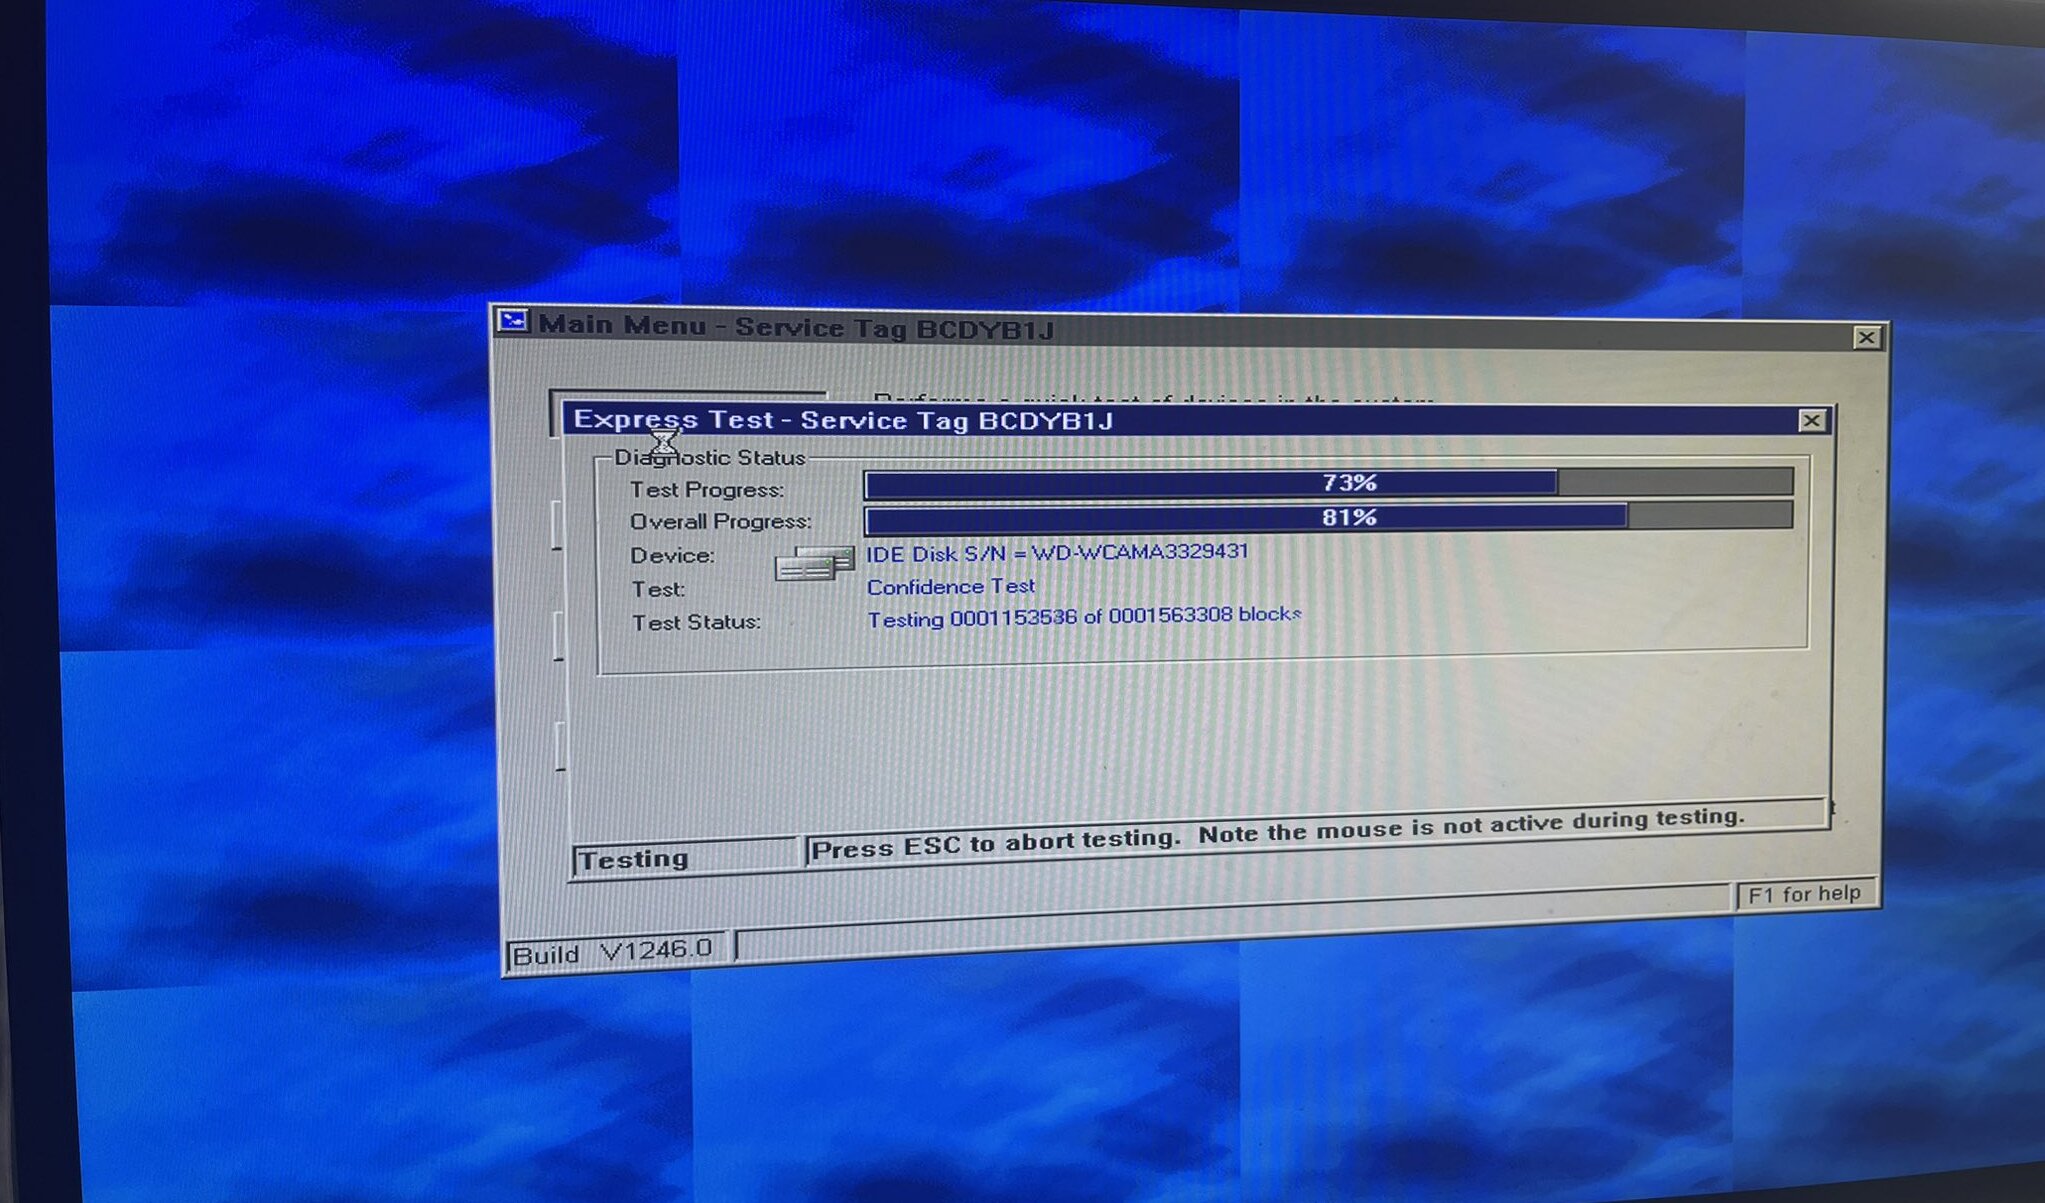
06toDE. Dell uses a specialDEtype for the recovery partition. Without setting this, the BIOS / upgrade package will not recognize the recovery partition.Run the Dell diagnostic partition update utility. I ran this from a Windows installation that was already present on the drive. In my case, it was obtained from here and it was called
DDUP1246.exe.
After that, you should be able to boot the recovery partition and enjoy your brand new old computer!
